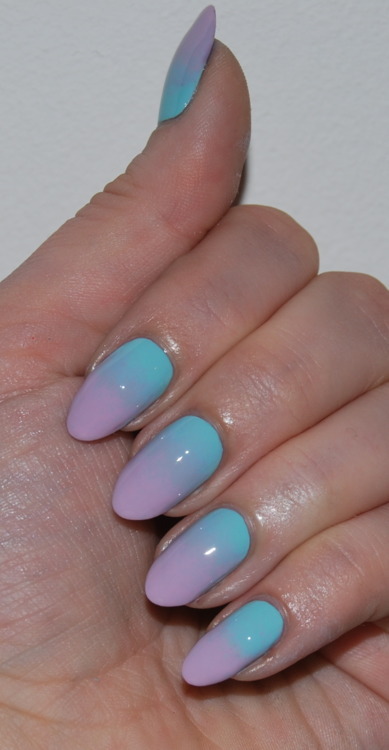
I had such an overwhelming response to my recent gradients blogs posts and I had a lot of questions asking how I do them, so I decided to do a little tutorial for you.
So to do this Gradient Nail Art Tutorial you will need: 2 nail varnishes (I used Seventeen polishes and I would recommend colours that are quite similar to each other when you’re just starting off, e.g. red and orange, blue and purple…), a cosmetic sponge, nail varnish remover (for clean up) and a good top coat (Seche Vite is my personal favourite).
- STEP ONE: Paint your nails half and half in your chosen colours. It doesn’t have to be particularly neat as you’re going to cover this. You’re just trying to get a base coat down.

- STEP TWO: Pour a little bit of nail varnish out, dip in your sponge and lightly dab it onto the join between the two colours. Start off with a little and build it up – remember it’s easier to put more on than take some off!
- STEP THREE: Once this is dried, dab the second colour on in the same way. This is starting to soften the line between the nails. (Don’t worry about the mess on the skin, we tidy it up later!)

- STEP FOUR: Mix blobs of the two nail varnish together and sponge this mixed colour onto the nails. I usually do two coats of this to make it look really blended. Tidy up with a brush/cotton bud dipped in nail varnish.
- STEP FIVE: Add one or two coats of top coat. Seche Vite really is great for this as it smoothes everything out and makes it shine like glass. Plus, it’ll last for ages.

I hope you found this Gradient Nail Art Tutorial helpful. Please let me know if you have a go!
Lex
